Lasting nail adhesion isn’t about using more products; it’s about creating a precise “adhesion partnership” between the nail’s physical texture and the correct chemical bond.
- Mechanical buffing creates the physical anchor, while primers provide the chemical bridge. Skipping one compromises the entire system.
- Product compatibility is critical at the foundation (primer/base), as the chemical “handshake” between layers is brand-specific.
Recommendation: Diagnose your lifting issues first to understand which part of the partnership—mechanical or chemical—is failing, then adjust your prep accordingly.
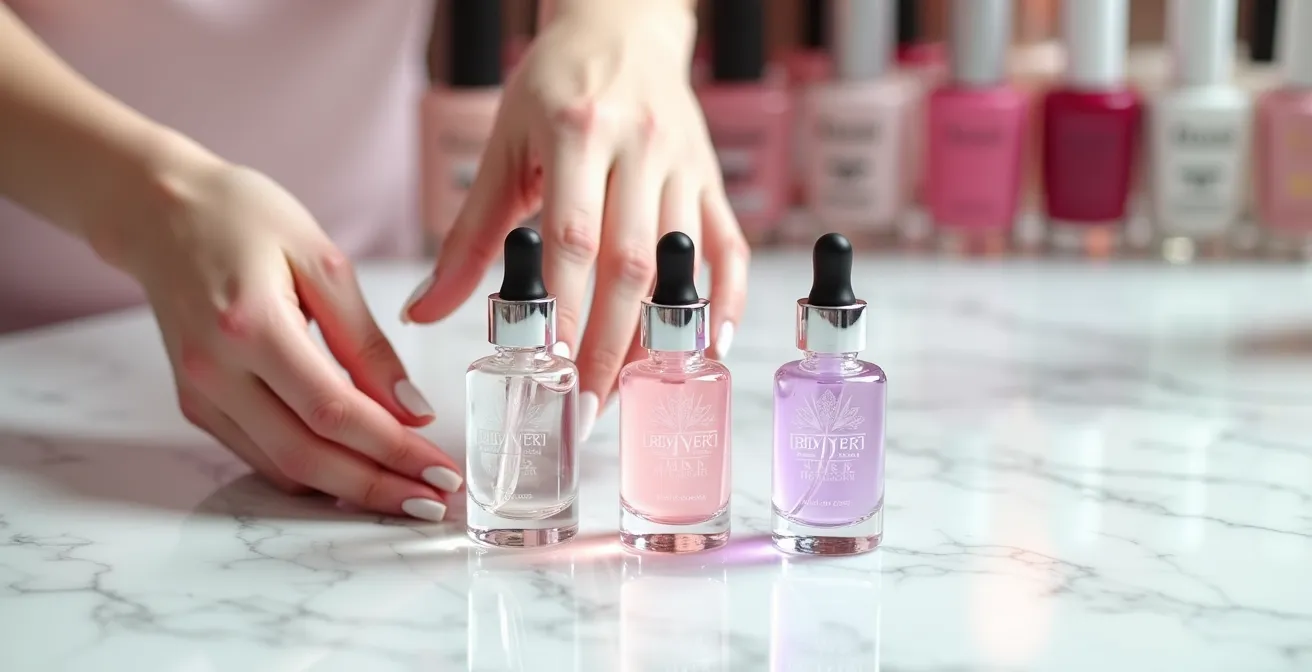
For the self-taught nail enthusiast, few things are more frustrating than watching a perfectly crafted manicure lift after only a few days. You followed every step, used all the recommended products, yet the enhancement peels away from the natural nail. The confusion often starts with the prep station, a confusing lineup of bottles labeled dehydrator, primer, and bonder. The common advice is to simply use them all, but this blanket approach fails to address the root cause of adhesion failure.
The secret to flawless, long-lasting nails isn’t found in piling on more products, but in understanding the fundamental science at play. True adhesion is an elegant adhesion partnership between two distinct forces: the mechanical preparation of the nail plate and the precise chemical bonding that follows. One without the other is a system set up for failure. Forget the guesswork; it’s time to think like a chemist and diagnose your adhesion issues at a molecular level. Dehydrator, for instance, is not the same as acetone; while both are solvents, a dehydrator is specifically formulated to temporarily remove moisture and oils without over-drying the nail plate, setting the stage for the chemical agents to come.
This guide will deconstruct common nail failures—from burning sensations under the lamp to specific lifting patterns—to reveal the underlying principles of adhesion. By understanding the ‘why’ behind each step, you can move beyond blindly following instructions and start making informed decisions. You will learn to diagnose problems, choose the right products for the right reasons, and finally master the science of a truly inseparable bond, from initial prep all the way to a safe and damage-free removal.
To navigate this deep dive into nail chemistry, the following sections will break down the most critical issues and questions. Each part is designed to build your expertise, transforming you from a nail enthusiast into a true adhesion specialist.
Contents: The Chemistry of Lasting Manicures
- Why Does Your Gel Burn in the Lamp and How to Stop It?
- The “Snowy” Bead: Signs Your Monomer Ratio Is Too Dry
- Center Pocket Lifting vs. Edge Lifting: What Do They Mean?
- Can You Use a Base Coat from Brand A with a Color from Brand B?
- Chemical Etching vs. Mechanical Buffing: Is Priming Without Filing Possible?
- How to Apply Gel Polish Thinly to Avoid Wrinkling?
- Why High Wattage Doesn’t Always Mean Better Curing?
- How to Remove Gel Polish at Home Without Scraping Layers off Your Nail?
Why Does Your Gel Burn in the Lamp and How to Stop It?
That sudden, intense burning sensation when curing gel is known as a “heat spike” or an exothermic reaction. It’s not a sign that the lamp is too powerful, but rather a direct result of chemistry in action. As the gel cures, its molecules (monomers) rapidly link together to form strong chains (polymers). This process, called polymerization, releases energy in the form of heat. The intensity of this heat spike is directly linked to the speed and volume of the reaction; the more bonds forming at once, the more heat is generated.
Several factors can turn a normal warming sensation into a painful burn. The most significant is the thickness of the gel application. A thick layer of gel means there are more molecules to polymerize simultaneously, creating a larger and more intense release of heat. According to leading nail chemists, the total amount of heat generated is directly proportional to the number of molecular bonds formed. This effect is amplified on nails that are already thin, damaged, or over-filed, as there is less nail plate to insulate the sensitive nerve endings in the nail bed from this normal curing cascade.
The key to prevention lies in controlling the speed and volume of polymerization. Applying the gel in multiple, thin layers instead of one thick glob is the most effective strategy. This reduces the number of bonds forming at any given moment, dissipating the heat more gradually. Another professional technique is “flash curing”—exposing the nail to the lamp for just 5-10 seconds to initiate the curing process slowly, then having the client remove their hand for a moment before completing the full cure. Some modern gel formulas are also designed with “low-heat” properties, using different photoinitiators that create a more controlled, staggered reaction to minimize the spike.
Ultimately, managing heat spikes is about respecting the chemical process. By applying thinner coats and controlling the curing environment, you can ensure a comfortable and safe experience without compromising the strength of the enhancement.
The “Snowy” Bead: Signs Your Monomer Ratio Is Too Dry
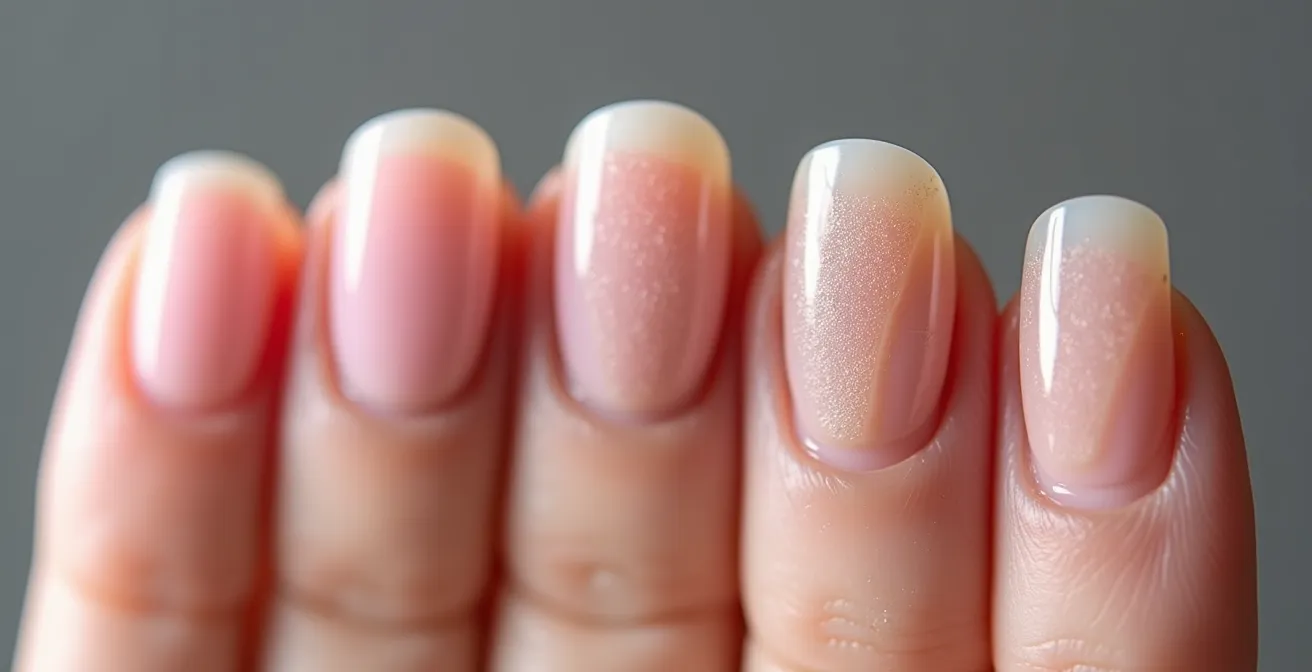
For acrylic artists, the perfect bead is the foundation of a strong and beautiful nail enhancement. A common sign that your liquid-to-powder ratio is off is the dreaded “snowy” or “sugary” bead. This occurs when the bead of acrylic is too dry, meaning there isn’t enough monomer (the liquid) to properly saturate the polymer (the powder). Instead of a smooth, glossy pearl, you get a grainy, opaque mass that is difficult to control and, more importantly, will lead to poor adhesion and a structurally weak nail.
A dry bead fails to create a strong, fully polymerized structure. The lack of sufficient monomer means not all the polymer powder particles are chemically cross-linked. This results in a porous, brittle enhancement that is prone to cracking and lifting. The product won’t flow correctly onto the nail plate, failing to self-level and creating a lumpy, uneven surface that requires excessive filing to correct. This not only wastes time but also compromises the integrity of the finished nail. Getting the ratio right is non-negotiable for professional results.
Achieving a consistent bead ratio is often challenged by environmental factors. It’s crucial to monitor your workspace to maintain control over the product:
- Humidity: Low humidity can cause the monomer on your brush to evaporate more quickly, leading to a drier bead.
- Temperature: A cold environment can make the monomer thicker and less efficient at saturating the powder. A cold nail plate can also slow the polymerization process.
- Monomer Freshness: Old monomer can have a higher evaporation rate, making it harder to pick up a properly saturated bead.
To combat this, always work in a climate-controlled room. When applying, especially near the cuticle, start with a slightly wetter bead and use gravity by pointing the client’s finger downward, allowing the product to flow naturally into place. Working on one nail at a time also prevents the monomer from evaporating prematurely.
The snowy bead is a clear signal from your product that its chemical needs aren’t being met. By controlling your environment and practicing your pickup technique, you can ensure every bead is perfect, leading to stronger, more durable, and more beautiful acrylic nails.
Center Pocket Lifting vs. Edge Lifting: What Do They Mean?
Lifting is not a random event; it’s a diagnostic sign. Where the lifting occurs on the nail tells a specific story about what went wrong during the prep or application process. By learning to “read” the lift, you can pinpoint the exact cause and fix it for good. The two most common patterns are center pocket lifting and edge lifting, each pointing to a different failure in the adhesion partnership.
Center pocket lifting, which appears as a bubble or separated area near the apex or center of the nail, is almost always a sign of improper nail plate preparation. This type of lift indicates that surface contaminants—specifically oil or moisture—were left on the nail before the product was applied. The enhancement adhered to the contaminated layer, not the nail itself, and this weak link inevitably broke down. This is a failure of the initial dehydration and cleansing step, not a failure of the primer or the product itself.
In contrast, edge lifting occurs along the cuticle line or side walls. This pattern points directly to a failure in primer application or product placement. It means the chemical “handshake” didn’t happen at the perimeter of the nail. This could be because the primer wasn’t applied all the way to the edges, or because the product was applied too close to the skin, where it cured on soft tissue instead of the nail plate. As the nail grows, this small point of contact with the skin creates a leverage point, causing the entire edge to lift.
Understanding these patterns is crucial for effective troubleshooting. This guide helps diagnose the issue based on the lifting location and provides a clear solution.
| Lifting Type | Location | Primary Cause | Solution |
|---|---|---|---|
| Center Pocket | Nail apex/center | Insufficient dehydration or oil removal | Increase dehydrator application time, scrub nail plate thoroughly |
| Edge Lifting | Side walls/cuticle line | Primer application failure | Ensure primer reaches all edges without flooding cuticle |
| Free Edge Chipping | Tip of nail | Improper capping | Cap free edge with primer and base coat |
| Widespread Lifting | Multiple areas | Product incompatibility or allergic reaction | Check product system compatibility, consider allergy testing |
Stop blaming the product and start reading the signs. By diagnosing the location of the lift, you can move from frustrating guesswork to targeted, effective solutions that ensure a perfect, lasting bond every time.
Can You Use a Base Coat from Brand A with a Color from Brand B?
The question of mixing and matching nail product brands is a common one, especially for enthusiasts building their collection. While it might seem harmless to use a favorite color from one brand over a trusted base coat from another, the answer from a chemical standpoint is nuanced and depends heavily on which layers you’re mixing. The greatest risk to adhesion lies not in the color layer, but in the foundational bond between the primer, bonder, and base coat.
To understand why, we must look at the “inhibition layer”—the sticky, tacky residue left on a gel product after it has been cured. This layer is not uncured gel; it is a crucial part of the chemical system. It is rich in photoinitiators that are specifically designed to create a powerful molecular handshake with the next layer of that same brand’s system. When you use a base coat from a different brand, its inhibition layer may have a different chemical makeup than what the new color or top coat is designed to bond with. This chemical mismatch weakens the overall bond, leading to reduced wear time, chipping, and potential lifting.
Case Study: NSI Nails System Compatibility Analysis
Technical research from NSI Nails demonstrates the importance of system integrity. Their testing revealed that each product line’s primer is formulated for its specific system. The inhibition layer contains unique photoinitiators designed to chemically bond with the next layer of the *same* system. When technicians mixed brands at the foundational level (e.g., Brand A primer with Brand B base coat), the rate of adhesion failure increased significantly. However, mixing was far less problematic when only the color layer was from a different brand, sandwiched between a matched base and top coat system.
For the most predictable and durable results, it’s best to think in terms of risk. A simple hierarchy can guide your decisions when mixing brands:
- High Risk: Using a primer/bonder from Brand A with a base coat from Brand B. This is where the core adhesion is established and where a chemical mismatch is most likely to cause catastrophic failure.
- Medium Risk: Using a base coat from Brand A with a top coat from Brand B. This can affect the longevity of the shine, stain resistance, and overall wear time.
- Low Risk: Using a color polish from Brand B between a matched base and top coat system from Brand A. The color layer is “sandwiched” and protected by the compatible foundation and sealant.
- Safest Bet: Using a complete system from a single brand. This guarantees chemical compatibility and makes troubleshooting any issues far easier.
While it may be tempting to mix and match for creative purposes, the foundation of your manicure is not the place to experiment. For guaranteed adhesion and peace of mind, commit to a single system for your primer, base, and top coats.
Chemical Etching vs. Mechanical Buffing: Is Priming Without Filing Possible?
The debate over filing versus priming touches the very core of adhesion science. Many wonder if a powerful chemical primer can compensate for skipping the “damaging” step of buffing the natural nail. The unequivocal answer from a chemical standpoint is no. Priming without filing is like building a house with a weak foundation; it ignores half of the adhesion partnership required for a durable enhancement.
Lasting adhesion relies on two types of bonds working in tandem. First is the mechanical bond. By gently buffing the nail plate with a fine-grit file, you remove the surface shine and create microscopic texture. This texture provides physical anchors for the product to grip onto, much like tread on a tire gripping the road. Without this physical roughness, the smooth nail surface offers nothing for the product to hold, making it prone to peeling off in a single sheet. The second is the chemical bond, which is where primers come in. They act as the molecular “glue.”
As renowned nail scientist Doug Schoon explains, professional systems are designed for a “‘belt and suspenders’ approach: a mechanical bond from buffing plus a chemical bond from primer. Removing one half severely compromises the system,” according to a Beauty Launchpad industry interview. Primers function in two distinct ways, and choosing the right one is critical. This table breaks down the differences between the two main categories.
| Feature | Acid-Based Primer | Acid-Free Primer |
|---|---|---|
| Methacrylic Acid Content | 30-100% | 0% |
| Etching Action | Creates microscopic pitting | No etching, acts like double-sided tape |
| Application Amount | Sparingly – less is best | Liberal application recommended |
| Risk of Yellowing | High if applied over wet product | No yellowing risk |
| Skin Safety | Corrosive – requires childproof packaging | Non-corrosive to skin |
| Best For | Problem lifters, traditional acrylics | Sensitive clients, modern gel systems |
An acid-based primer enhances the mechanical bond by creating a chemical interlock, using methacrylic acid to etch microscopic pits into the nail surface for an even stronger grip. An acid-free primer, on the other hand, works like powerful double-sided tape, forming a covalent bond—a true molecular handshake—between the nail plate and the gel product. Neither is designed to work on a slick, unprepared surface.
Therefore, filing is not an optional or damaging step; it is an essential part of creating the mechanical foundation. Priming is the chemical component that seals the deal. One cannot replace the other. For truly resilient nail enhancements, you must always employ both partners in the adhesion process.
How to Apply Gel Polish Thinly to Avoid Wrinkling?
Gel polish wrinkling or “shriveling” after curing is a common problem that points to a single culprit: the application was too thick. This issue is particularly prevalent with highly pigmented or dark colors. While it may seem efficient to apply one thick coat to achieve opacity, you are actually preventing the polish from curing properly and creating a weak, wrinkled surface. The solution lies in understanding the physics of light and applying multiple, sheer layers.
The wrinkling phenomenon is caused by the top layer of the gel curing and shrinking before the UV light can penetrate to the bottom. Dark, opaque pigments are the main obstacle. These pigments physically block the UV photons from reaching the gel closest to the nail plate. In fact, research on gel polish curing shows that dark, opaque pigments can require 50-70% thinner application than sheer colors to cure properly. When the application is too thick, the surface cures instantly, forming a solid “skin.” This skin then contracts and wrinkles over the still-liquid gel underneath, much like a raisin. This is not just a cosmetic issue; the uncured gel beneath the wrinkled skin will lead to lifting and potential skin sensitivities.
The professional technique to avoid this is to build color with two to three very thin coats rather than one thick one. Each layer must be cured for the full recommended time for your lamp and gel system. To apply thinly, ensure you remove excess product from the brush on the neck of the bottle. The first coat should be semi-sheer; do not worry about full coverage on the first pass. The goal is to establish a cured foundation. The second (and sometimes third) coat will build the opacity and color depth without compromising the cure. This methodical approach ensures the curing cascade happens evenly through each layer, resulting in a smooth, durable, and perfectly cured finish.
Patience is the key. By embracing the “thin to win” philosophy, you allow the UV light to do its job effectively, guaranteeing a wrinkle-free, long-lasting manicure regardless of the color’s pigment density.
Why High Wattage Doesn’t Always Mean Better Curing?
In the world of nail lamps, there’s a persistent myth that higher wattage equals a better, faster cure. This leads many enthusiasts to invest in the highest-wattage lamp they can find, believing it will guarantee superior performance. However, this is a fundamental misunderstanding of curing science. Wattage is simply a measure of power consumption, not of the UV output or the effectiveness of the cure.
The key to proper gel polymerization is not the power of the lamp, but the wavelength of the light it emits. Gel polishes are formulated with specific molecules called photoinitiators, which are designed to absorb light at very precise UV wavelengths to kickstart the curing reaction. If a lamp, regardless of its wattage, does not emit light at the correct wavelength for the gel you are using, the gel will not cure properly. It might feel dry to the touch, but it will be soft and under-cured underneath, leading to service breakdown and potential allergies.
Most modern gel systems are designed to cure at specific peaks, and professional nail chemistry research confirms that gel photoinitiators only react to specific UV wavelengths, typically 365nm or 405nm. A 48-watt lamp that emits the correct wavelength is infinitely more effective than a 100-watt lamp that emits the wrong one. A far more important metric than wattage is irradiance, which measures the actual amount of UV energy delivered to the nail surface. A well-engineered lamp with strategically placed LEDs will provide even irradiance across all five fingers, ensuring a consistent cure, while a poorly designed high-wattage lamp might have “dead zones” where curing is incomplete.
When selecting a lamp, look beyond the wattage and consider these crucial factors:
- Wavelength Specification: Ensure the lamp’s output (e.g., 365nm + 405nm) matches the requirements of your gel system.
- Brand Compatibility: The safest bet is to use the lamp manufactured by your chosen gel brand, as they are calibrated to work together.
- Adjustable Intensity: Lamps with “low heat” settings or adjustable power levels offer more control for sensitive clients or thick gels.
- Cure Quality Test: Don’t just rely on a tack-free surface. A properly cured gel should be hard all the way through and resist being scratched with a cuticle pusher.
Ultimately, a successful cure is about precision, not brute force. Matching your lamp’s wavelength to your gel’s chemistry is the true secret to a durable, properly polymerized, and safe manicure.
Key Takeaways
- Adhesion is a dual system: a mechanical bond from buffing and a chemical bond from a primer are both required.
- Lifting patterns are diagnostic tools: lifting at the center suggests improper dehydration, while edge lifting points to primer failure.
- System integrity matters most at the foundation. Mixing a primer from brand A with a base from brand B is the highest risk for failure due to incompatible chemistry.
How to Remove Gel Polish at Home Without Scraping Layers off Your Nail?
Proper gel polish removal is the final, crucial step in maintaining nail health, yet it’s often where the most damage occurs. The temptation to peel, pick, or aggressively scrape off stubborn polish can lead to delamination, thinning, and weakening of the natural nail plate. A safe, damage-free removal is not about force; it’s a chemical process that requires patience and the right technique. The difficulty of removal is also directly influenced by the type of primer used during the initial application.
The choice of primer creates a specific type of bond that dictates how it must be broken. As technical education from REFORMA shows, acid-based primers create a deep chemical interlock with the nail plate, requiring longer and more thorough acetone exposure (15-20 minutes) to dissolve. In contrast, the covalent bonds formed by acid-free primers break down more cleanly and quickly, often releasing with a 10-12 minute acetone soak. Forcing removal before the bond has fully dissolved is what causes layers of the nail plate to be torn away with the product.
To dissolve the bonds effectively, you must give the acetone time to work. Warming the acetone can significantly speed up the chemical reaction, cutting down on removal time. Never use a metal tool to scrape; if the product doesn’t lift away with gentle pressure from a wooden or plastic pusher, it means the bond is not fully broken. Re-saturate the cotton, re-wrap the nail, and wait a few more minutes. The health of the natural nail is paramount.
Your Action Plan for Damage-Free Gel Removal
- Break the Seal: Gently file the shiny top coat using a 180-grit file. This creates channels for the acetone to penetrate the layers of polish.
- Saturate with Acetone: Use cotton pads fully saturated with 100% pure acetone, not a standard nail polish remover which is less effective.
- Wrap and Secure: Place the saturated cotton pads on each nail and wrap them snugly with a small piece of aluminum foil to prevent the acetone from evaporating.
- Apply Gentle Heat: To accelerate the process, wrap your hands in a warm towel or use heating mitts. This speeds up the chemical dissolution of the gel.
- Wait and Gently Push: After 10-15 minutes (or more for acid-primed nails), remove the foil from one finger. Gently push the softened product off with an orangewood stick or plastic cuticle pusher. If there is any resistance, do not force it.
Now that you understand the full lifecycle of a manicure, from the chemistry of application to the chemistry of removal, you have the power to make informed choices. Start by evaluating your current prep routine and removal habits to ensure they align with these principles for long-lasting, beautiful, and healthy nails.