The secret to a flawless nude manicure isn’t about matching your skin—it’s about using color theory to strategically counteract its unwanted tones for a look of true harmony.
- The ubiquitous « vein test » is often inaccurate; a multi-step analysis including how your skin reacts to white paper and jewelry is more reliable.
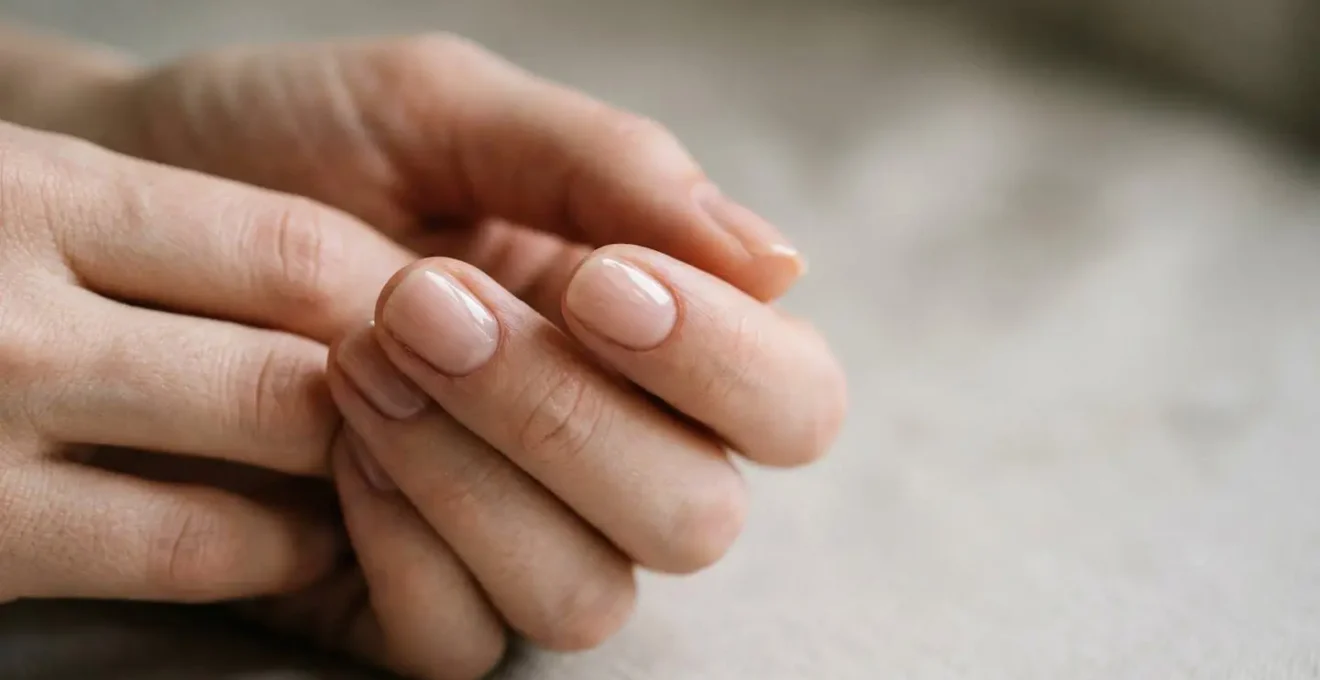
- An exact skin-tone match creates an unsettling « mannequin hand » effect. The ideal nude is 1-2 shades lighter or darker than your skin.
Recommendation: Instead of searching for the perfect bottle, learn to mix your own custom nude. A drop of green polish can neutralize redness in your skin, while lavender can correct sallowness, giving you ultimate control over the final result.
You’ve been there. You see a gorgeous, sophisticated nude polish in the bottle. You apply it with precision, imagining the chic, « put-together » result. But when you look at your hands, something is terribly wrong. Instead of elegant, your hands look faintly red, strangely grey, or unsettlingly lifeless—what the pros call « washy. » You’ve just fallen victim to the most common mistake in nail color selection: the myth of the perfect match. The advice you’ve heard a thousand times, to « find a nude that matches your skin, » is fundamentally flawed.
Most guides will point you to simplistic tricks like the « vein test » or the « jewelry test. » While these can be starting points, they fail to account for the complex interplay of color, light, and texture. The frustration you feel isn’t your fault; it’s the fault of a one-size-fits-all approach to a deeply personal art form. True mastery of the nude manicure doesn’t come from finding a color that camouflages your nail into your finger. It comes from understanding the principles of color theory to select or even create a shade that actively harmonizes with and flatters your unique skin undertones.
But if the traditional advice is a myth, what’s the truth? The answer lies in a paradigm shift. We must stop thinking about matching and start thinking about correcting. The perfect nude doesn’t hide; it enhances. It doesn’t blend in; it creates balance. This guide will deconstruct the old rules and equip you with a color theorist’s perspective. We’ll explore why an exact match looks « creepy, » how sheer textures can be more forgiving than opaque creams, and how a single drop of green can be the secret weapon against redness, finally giving you the power to achieve that elusive, effortlessly flawless nude.
To master this art, we’ll navigate through the core principles of color theory as it applies to your nails, from identifying your true undertone to transforming your look for any occasion. This framework will empower you to choose, customize, and wear nude polish with confidence.
Table of Contents: A Color Theorist’s Guide to Flawless Nude Polish
- Vein Check: Are You Cool, Warm, or Neutral?
- When to Choose a Jelly Nude to Hide Nail Plate Imperfections?
- Why Matching Skin Tone Exactly Can Look Creepy?
- Adding Green to Neutralize Redness: Mixing Your Own Nudes
- Why the Perfect Nude Is Crucial for a Seamless Ombré?
- What Nail Colors Are Considered « Unprofessional » in Conservative Sectors?
- Micro-French: The Minimalist Trend Replacing the Classic White Tip
- How to Transform a Nude Office Manicure into a Party Look in 5 Minutes?
Vein Check: Are You Cool, Warm, or Neutral?
The first step in any color journey is identifying your base canvas: your skin’s undertone. This is the permanent, subtle color beneath your surface skin that never changes, unlike your overtone which tans or burns. The most common advice is the « vein check »—blue veins mean cool, green veins mean warm. While simple, this method is notoriously unreliable, especially for olive or deeper skin tones where the melanin concentration can obscure the vein color. A more professional approach requires cross-verification, treating it like a scientific experiment to triangulate your true undertone. However, even these expanded methods have their critics.
As Color Analysis Professional Carol Brailey points out, the foundational premise of the vein test is flawed from a professional standpoint.
The vein test to determine skin undertone is the most inaccurate test ever; waste of time… it’s a myth. No one trained in colour analysis would ever say vein test is accurate. Every warm undertone person I have seen in my colour analysis career has some form of blue veins.
– Carol Brailey, Color Analysis Professional, TikTok Color Analysis Education Video
The lesson here is to use tests as clues, not absolute laws. Pay attention to how colors make your skin *feel*. Does a peachy-nude bring life to your hands, or does a rosy-beige make them look clearer? This personal observation is more valuable than any single test. The importance of getting this right is reflected across the beauty industry; accurate undertone matching can slash foundation return rates by up to 30%, proving this is a widespread and costly problem to solve. Your goal is to find a nude that shares your undertone family (cool with cool, warm with warm) to create harmony.
When to Choose a Jelly Nude to Hide Nail Plate Imperfections?
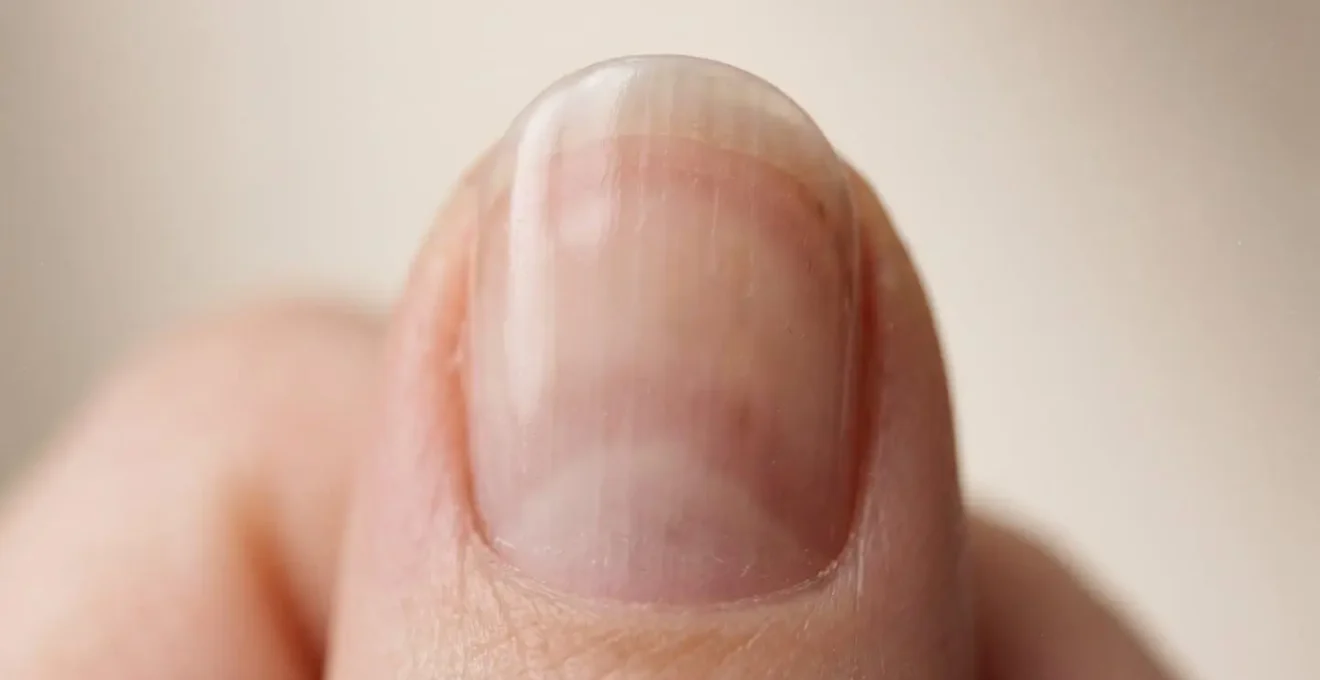
Sometimes, the problem isn’t the color, but the formula. If you have ridges, discoloration, or any nail plate imperfections, an opaque, cream-finish nude can be your worst enemy. Like a harsh light in a photograph, it highlights every tiny flaw, creating a finish that looks uneven and messy. The solution isn’t more coverage; it’s a smarter, more forgiving texture. Enter the jelly nude. This semi-sheer, translucent formula is a game-changer for achieving the « your-nails-but-better » aesthetic.
Case Study: The Jelly Polish Soft-Focus Strategy
Unlike opaque polishes that lay a flat layer of color on the nail, jelly formulas are semi-transparent. This unique composition creates an optical soft-focus effect. Instead of covering imperfections, a jelly polish blurs them, much like a camera filter softens a portrait. The light passes through the polish, reflects off the nail plate, and is diffused on its way back, minimizing the appearance of ridges and evening out discoloration. The result is a glossy, plump, glass-like finish that maintains depth and looks impeccably polished in any lighting.
The magic of a jelly nude lies in its ability to forgive. Where an opaque cream demands a perfect canvas, a jelly works with what you have, creating a subtle, luminous veil. This « lit-from-within » glow is especially effective at making nails appear healthy and pristine without looking artificial. The buildable nature of the formula also allows you to customize the opacity, from a barely-there tint to a more saturated, syrupy color, all while maintaining that crucial translucency.
As you can see, the translucent quality doesn’t mask the nail but rather perfects it visually. Think of it as the difference between heavy foundation and a tinted moisturizer. One covers, the other enhances. For a truly modern and sophisticated nude look, especially on nails that aren’t perfectly smooth, choosing a jelly texture is often the most strategic first move.
Why Matching Skin Tone Exactly Can Look Creepy?
The most common directive given to those seeking a nude polish is to « find a shade that matches your skin. » This is, artistically speaking, the worst possible advice. When your nail color is an exact replica of your skin tone, it erases the natural definition between your finger and your nail, leading to a phenomenon known as « mannequin hand. » This effect falls into the uncanny valley—it looks almost right, but the subtle wrongness is deeply unsettling. Your fingers can appear shorter, and your hands take on a flat, artificial, and lifeless quality.
The goal of a nude manicure is not camouflage; it is to create an elegant, elongated, and harmonious look. This is achieved through a subtle contrast, not a perfect match. A leading nail artist with over a decade of experience breaks down the correct approach with a clear, corrective rule:
Your nude should be 1-2 shades lighter than your skin (not 5 shades lighter) and match your undertone. Warm skin equals warm nude. Cool skin equals cool nude. Undertone matters MORE than skin depth.
– Professional Nail Artist, Glazeme Complete Nail Color Guide 2026
This is the golden rule. The slight difference in shade creates the necessary separation to define the nail shape, making fingers appear longer and more graceful. According to professional nail artists, your nude polish should be 1-2 shades lighter or darker than your skin. Choosing a shade that is slightly lighter illuminates the hand, while a shade slightly darker creates a sophisticated, grounded look. The critical factor, as the expert emphasizes, remains the undertone. A nude that is two shades lighter but has the wrong undertone (e.g., a cool pinky-beige on warm, golden skin) will still clash and look « off. » Harmony in undertone is non-negotiable.
Adding Green to Neutralize Redness: Mixing Your Own Nudes
What if the perfect nude for you doesn’t exist in a bottle? For many people, especially those with fair, cool-toned skin, hands can easily appear red or ruddy. Applying a standard beige or pink nude can accentuate this redness, making the problem worse. This is where a true color theorist’s approach becomes invaluable. Instead of searching endlessly for the right shade, you can create it by understanding color neutralization.
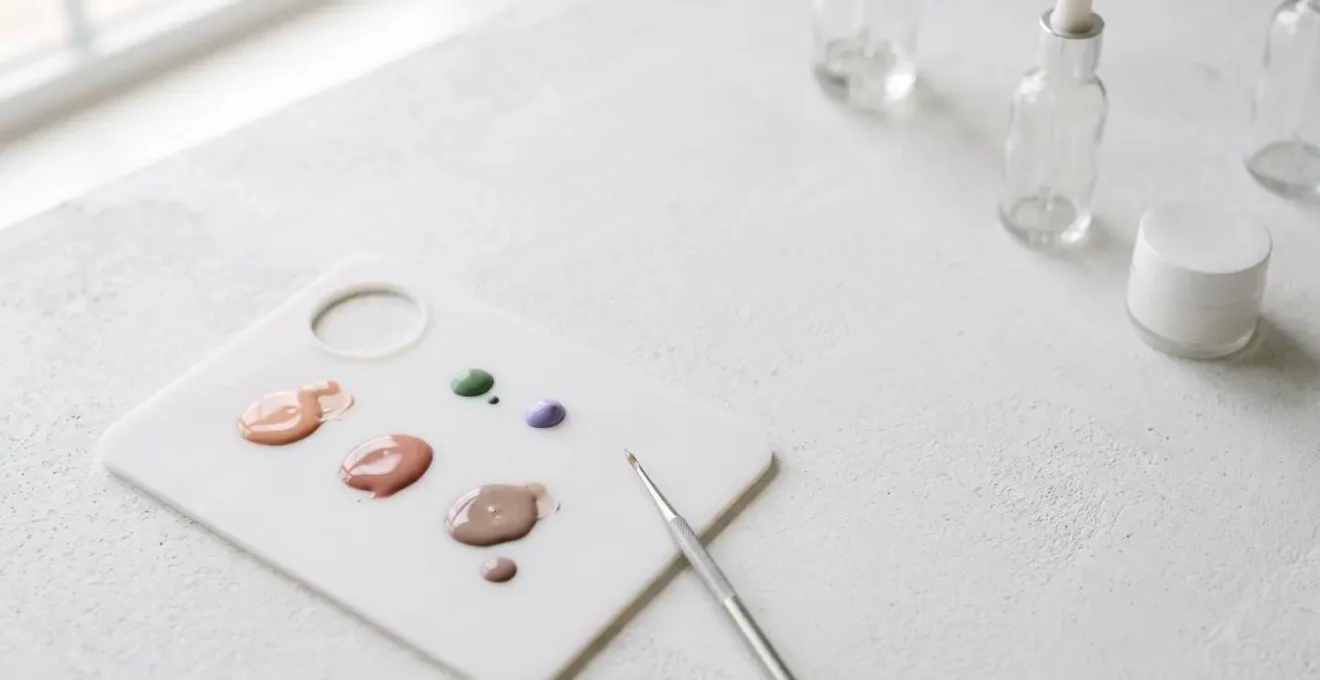
The principle is simple and comes directly from the color wheel: complementary colors cancel each other out. What is the opposite of red? Green. By introducing a minuscule amount of green pigment into your nude polish, you can create a custom shade that actively neutralizes the redness in your skin, resulting in a truly harmonious and flattering finish. Similarly, a hint of lavender can counteract sallowness (yellow tones) in olive or neutral skin, and a touch of peach can balance bluish tones. This isn’t about turning your polish green; it’s about using color theory to shift the undertone of the polish for a corrective effect.
This level of customization empowers you to solve the « washy » or « red » hand problem at its source. You are no longer at the mercy of what brands decide is a « cool » or « warm » nude. You become the artist, fine-tuning your color to perfection. While it may seem daunting, the process is methodical and requires just a few basic tools and an understanding of the steps.
Your Action Plan: Creating a Custom Corrective Nude
- Gather Your Tools: Use a non-porous surface like a silicone mat or a plastic palette, a mixing tool, and your base polishes. Never mix directly in the bottle unless you’re making a large batch.
- Plan Your Color: Start with a nude polish that is close but not quite right. Dab a small amount on your palette to use as your base for experimentation.
- Apply Color Theory: If your hands look red, add the tiniest speck of a green polish or pigment. For sallowness, use lavender. For bluish undertones, use peach. The ratio is key; start with less than you think you need.
- Adjust Shade: To lighten or darken your mix without making it muddy, use other nudes, browns, or grays instead of pure white or black, which can dull the vibrancy.
- Check Consistency: If the mix becomes too thick from evaporation, add a drop of polish thinner (never acetone) to restore a smooth, applicable consistency.
- Test and Record: Apply a small amount to one nail to test against your skin in natural light. Once perfected, make a note of the polishes and rough ratios used so you can recreate your custom shade in the future.
Why the Perfect Nude Is Crucial for a Seamless Ombré?
The importance of a well-chosen nude extends far beyond a simple, single-color manicure. In the world of nail art, a flawless nude base is the unsung hero, the foundational element that elevates complex designs from amateur to professional. This is nowhere more evident than in the delicate art of the ombré, or gradient, manicure. In this context, the nude polish is not just a color; it is the anchor color that ensures a smooth and believable transition.
Case Study: The Anchor Color Principle in Gradient Nail Art
In an ombré design, such as the classic « baby boomer » (a soft white fading into a pinky nude), the nude base serves as the harmonious midpoint. It bridges the gap between the natural nail bed and the tip color. If the nude base clashes with your skin’s undertone, the entire gradient will look disjointed and « off, » no matter how perfectly it is blended. A sheer, undertone-correct nude, especially a jelly formula, is particularly effective. Its translucency allows for a forgiving, ethereal blend where colors melt into each other, creating an illusion that the color is blooming naturally from the nail itself. This enhances the overall effect, making the nail bed appear longer and more elegant.
Think of the nude base as the canvas and primer for your artwork. A poorly chosen nude—one that is too opaque, too chalky, or has the wrong undertone—will create a harsh line during the blending process, making the gradient look muddy or abrupt. It fights against the other colors instead of uniting them. Conversely, a nude that is in perfect harmony with your skin tone creates a seamless foundation. The transition from your cuticle to the tip color appears effortless and fluid. This is why professional nail artists obsess over their collection of base nudes; they know that 90% of a successful ombré is achieved before the blending even begins. It is all in the prep work and the selection of that perfect anchor color.
What Nail Colors Are Considered « Unprofessional » in Conservative Sectors?
The conversation around workplace-appropriate nail polish has evolved significantly. While traditional wisdom dictated a narrow range of « safe » colors like pale pink and beige, the modern definition of « professional » has shifted. Today, the focus is less on a specific color and more on the overall presentation: maintenance, application, and—crucially—how well the chosen color harmonizes with the wearer. A poorly chosen nude that makes your hands look sickly or red is now often seen as more « unprofessional » than a flawlessly applied, deep navy.
This sentiment is echoed by professionals in the most conservative fields, who are redefining the rules from within.
My position is that you are better to have flawless (no chips, well applied) nails in a colour that’s wilder, than horribly chipped light pink or badly cared for nails in general. The new ‘unprofessional’ is chipped polish and a ‘washy’ or ill-fitting nude.
– Junior Attorney, Conservative Law Firm, Corporette Workplace Nail Polish Discussion
This shift introduces the concept of « Power Neutrals »—rich, deep, and sophisticated shades that convey confidence and authority without being distracting. The increased acceptability of dark nail colors like burgundy and navy in conservative workplaces is a relatively recent phenomenon, having largely emerged within the last 2-3 years. The key takeaway is that neatness and harmony trump outdated color rules. A well-maintained manicure, in a color that complements your skin tone and overall look, will always read as professional.
The following table provides a modern framework for navigating nail color choices across different professional environments, emphasizing the new focus on polish quality and appropriateness over simple color restrictions.
| Industry Sector | Traditional ‘Safe’ Colors | Modern Accepted ‘Power Neutrals’ | Colors to Avoid |
|---|---|---|---|
| Conservative Finance/Law | Nude, pale pink, clear, soft beige | Deep burgundy, navy, rich espresso, forest green | Neon colors, glitter, black, chipped/poorly maintained polish |
| Corporate/Business Casual | Neutral nudes, classic red, soft mauves | Oxblood, purple, dark gray, seasonal deep tones | Nail art, overly long nails, bright or loud patterns |
| Creative/Tech/Startup | Any well-maintained shade | Bold colors, metallics, artistic designs (when executed professionally) | Chipped polish, poorly applied colors regardless of shade |
| Client-Facing Roles (varies) | Adjust based on daily agenda: nudes for presentations | Seasonal colors for internal meetings, subtle statement shades for networking | Anything that distracts from your message or expertise |
Micro-French: The Minimalist Trend Replacing the Classic White Tip
The classic French manicure, with its thick, bright white tip, has given way to a more refined and modern successor: the micro-French. This trend is defined by its delicate, whisper-thin tip (typically 1-2mm) that subtly traces the free edge of the nail. While the tip gets the attention, the undeniable star of the micro-French is its base. The success of this minimalist look hinges almost entirely on the perfection of the nude base color.
Case Study: The Base is the Hero in Micro-French Success
In a micro-French manicure, the nude base accounts for over 95% of the visible nail surface. Therefore, its flawless application and color harmony are paramount. A sheer, jelly-like nude that matches your skin’s undertone is the gold standard for this trend. This creates a contemporary « lip gloss » effect that feels softer and more sophisticated than traditional opaque pink or beige bases. The semi-transparent quality allows a hint of the natural nail to show through, creating an illusion of health and length that perfectly complements the delicate micro-tip. The result is a manicure that looks expensive, intentional, and effortlessly chic.
Because the tip is so minimal, any imperfection or color clash in the nude base is immediately magnified. A base that is too chalky, too streaky, or the wrong undertone will make the entire manicure look cheap and poorly executed. This is another scenario where the principles of color theory are crucial. Pairing a cool-toned, rosy sheer nude with a crisp, soft white tip will look harmonious on cool-toned skin. Conversely, a warm, peachy nude base paired with a creamy, off-white tip will flatter warmer skin tones. The micro-French trend is the ultimate test of your nude-selection skills, proving that in minimalism, the foundation is everything.

This elegant, understated look is a testament to the power of a perfect base. It reinforces the idea that true sophistication in nail art often lies not in complex designs, but in the impeccable execution of fundamental color harmony.
Key Takeaways
- Stop trying to match your skin tone exactly; this creates an unnatural « mannequin hand » effect. Aim for a nude that is 1-2 shades lighter or darker.
- The « vein test » is unreliable. Use a multi-faceted approach to determine your undertone, and trust how a color makes your skin look and feel above all else.
- If you struggle with redness, use color theory. A tiny drop of green polish mixed into your nude can neutralize ruddiness for a truly harmonious finish.
How to Transform a Nude Office Manicure into a Party Look in 5 Minutes?
One of the greatest strengths of a perfectly chosen nude manicure is its versatility. It is the ultimate blank canvas, the epitome of daytime professionalism. But its true power lies in its ability to be instantly transformed for an evening out, without requiring a full polish change. With the right techniques and a few key products, your sophisticated office nude can become a glamorous party look in under five minutes. This adaptability is the final reward for taking the time to find your true, harmonious nude base.
The secret is in layering and texture. By adding a single new element over your existing dry manicure, you can completely shift its aesthetic from understated to statement-making. This is about working smarter, not harder, and leveraging the flawless foundation you’ve already built. Whether you’re heading from your desk to dinner or have a last-minute event, these quick-change techniques ensure your nails are always perfectly attired for the occasion.
Here are the most effective, high-impact techniques used by professionals to upgrade a nude manicure on the fly:
- The Topper Method: This is the quickest and most popular technique. Apply a single coat of a special effects top coat. A fine-particle glitter, a pearlescent shimmer, or a holographic topper will instantly catch the light and add a festive, glamorous dimension to your nude base.
- The Matte Revolution: For a different kind of drama, apply a matte top coat. This instantly removes all shine, transforming your glossy, polished nude into something edgy, modern, and velvety. The change in texture is striking and deeply sophisticated.
- Strategic Accent Additions: Use nail art accessories for targeted glamour. Apply a thin, metallic line sticker along the cuticle, place a single piece of nail foil on one accent nail per hand, or use a dotting tool to add a few simple metallic dots. These small additions create a high-end, custom look.
- The Jelly Sandwich Upgrade: If you have a glitter polish and a sheer nude, you can create a « jelly sandwich. » Apply one coat of glitter over your nude base, let it dry for a minute, then apply another thin coat of your sheer nude on top. This creates a beautiful, dimensional effect where the glitter seems suspended within the color.
To make these spontaneous transformations possible, the key is preparation. Keep a travel-sized bottle of your favorite glitter or matte top coat in your work bag or desk drawer. With these simple tools, your perfect nude manicure becomes a dynamic accessory, ready to adapt to any event on your schedule.
Stop hunting for a « match » and start creating harmony. Begin your color theory journey by analyzing your current nude polishes with these new principles in mind, and don’t be afraid to experiment with mixing. Your perfect, non-washy nude is waiting to be discovered—or created.